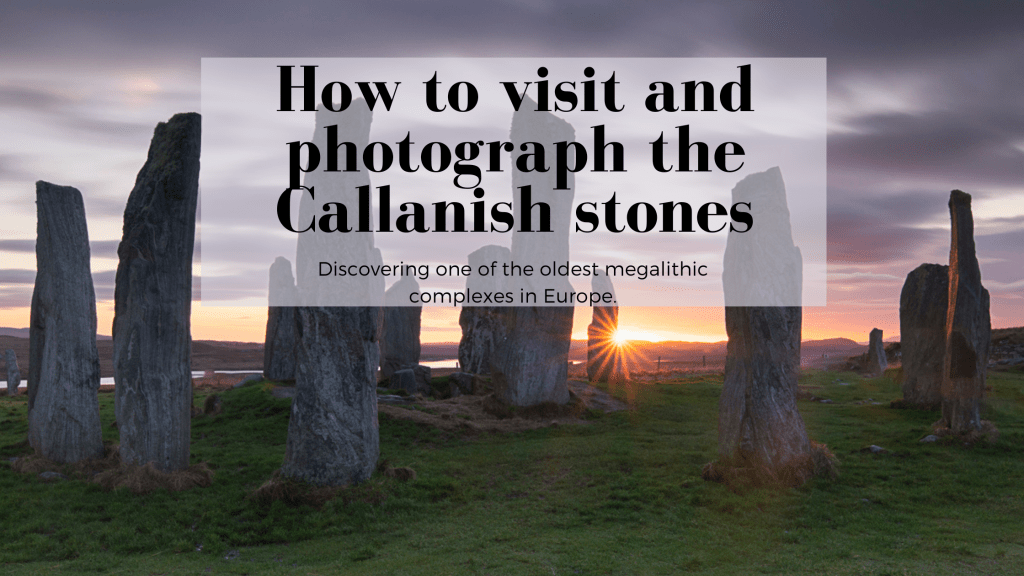
Discovering one of the oldest megalithic complexes in Europe.
Articolo in italiano QUI
The Callanish Stones are an arrangement of standing stones placed in a cruciform pattern with a central stone circle, located on the Isle of Lewis, Scotland. During the Bronze Age, they served as a focal point for ritual activity after being built in the late Neolithic era. Within a few kilometres, there are many other ritual sites. There are at least three other circles, several arcs, alignments, and single stones that can be seen from the main site.
For thousands of years, the mysterious megaliths have captivated and fascinated visitors. They were constructed around 5000 years ago. Even though they have been a gathering spot for ritual activities for at least a millennium, their precise purpose has been forgotten by history. Recent archaeological excavations support the theory that the megaliths were used as either an astronomical observatory or a celestial calendar.
Getting to Callanish
You can reach the Isle of Lewis by ferry, there are two ferry services that run to the island, one from Ullapool on the mainland that arrives at Stornoway (Lewis) and one from Uist on the Isle of Skye that takes you to Tarbert (Harris). Both are accessible to both pedestrians and vehicles, and the scenic routes lead to numerous surrounding smaller islands. You can also get to Lewis and Harris by flying into Stornoway airport. There are flights from many airports, but mainly from Edinburgh and Glasgow.
Once you’re on the island you can head to the Callanish Stones by car, bike or local transport, even if the best option to move around is getting a car. The stones are about 30 minutes away from Stornoway, located near the A858. There are a few places to park near the stones. The main and free car park is located at the visitor centre and is clearly signposted, but you can also turn right just before the visitor centre, climb up the steep single-track lane and park near the stones, but the parking spots are limited here.
How to visit the site
The Callanish Stones have a longer history than Stonehenge, but unlike the renowned megalithic structure, they are open to the public. Those who are captivated by their ancient mysteries are free to wander among the stones and even touch the enormous monoliths.
The main site is just a 10-minute drive from Carloway (where you can find another great attraction of the islands, the Dun Carloway broch), and as I previously said the site is open and you can freely wander around the structure. There’s no entrance ticket either and you can come back as much as you want at any time.
If the history of the site can interest you, there is also a visitor centre (but we found it close and later discover on their website that it will be until 2025 for renovations). Their website mentions that the stones will be closed to the public for conservation work in autumn 2024, so make sure to check this out here before planning your visit.
Photographing through history
As a photographer I always have my camera ready, and this place captured me so much I came back several times to take different photos. Being the site open anytime you can also come at night to photograph the stones with the starry sky or even the northern lights if you are lucky. Just be aware that there are a few houses on the right side of the site and their lights can be pretty disturbing if you want to take some pictures during the night.
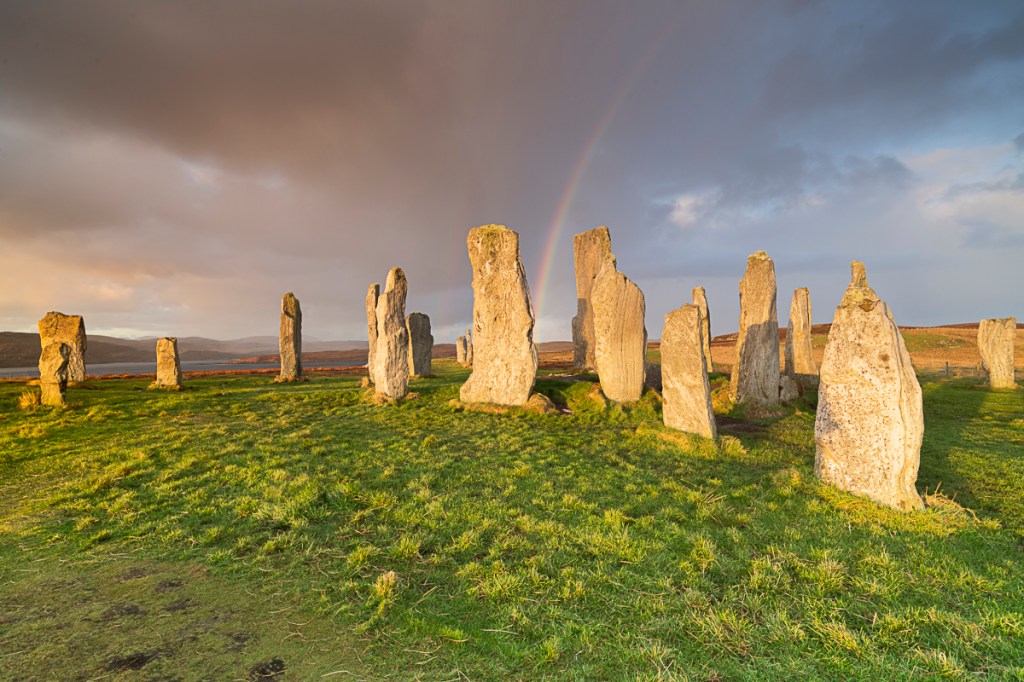
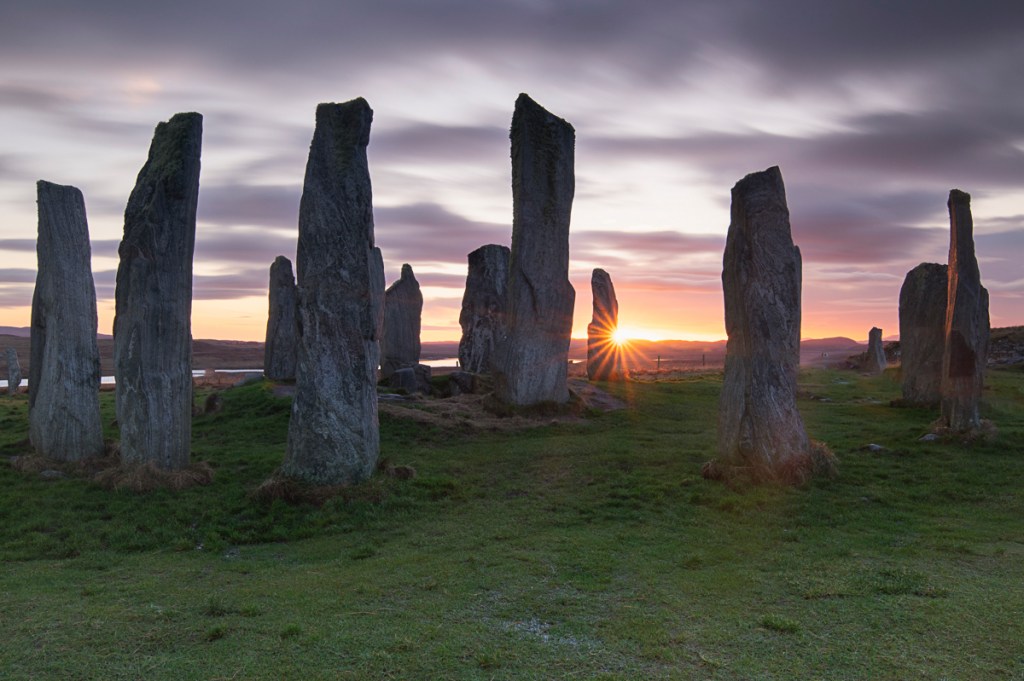
The island of Lewis has a great light during the day, and when I visited in winter, I found a lot of beautiful situations, such as side light and rainbows. One of the best pictures you can take here is, in my opinion, the sun rising just behind the stones.
If you want to take this kind of picture you just need to follow some simple steps: first, you need to wake up early! The day before check at what hour is the sun rising and go there at least one hour early, once there use an app to check exactly where the sun will rise (I use PhotoPills).
Once you’re good and you found a composition you like just set a small aperture, like f.16, to get the “star” effect on the sun. For the picture below I also used a GND filter to have a correct exposure both on the sky and on the foreground.