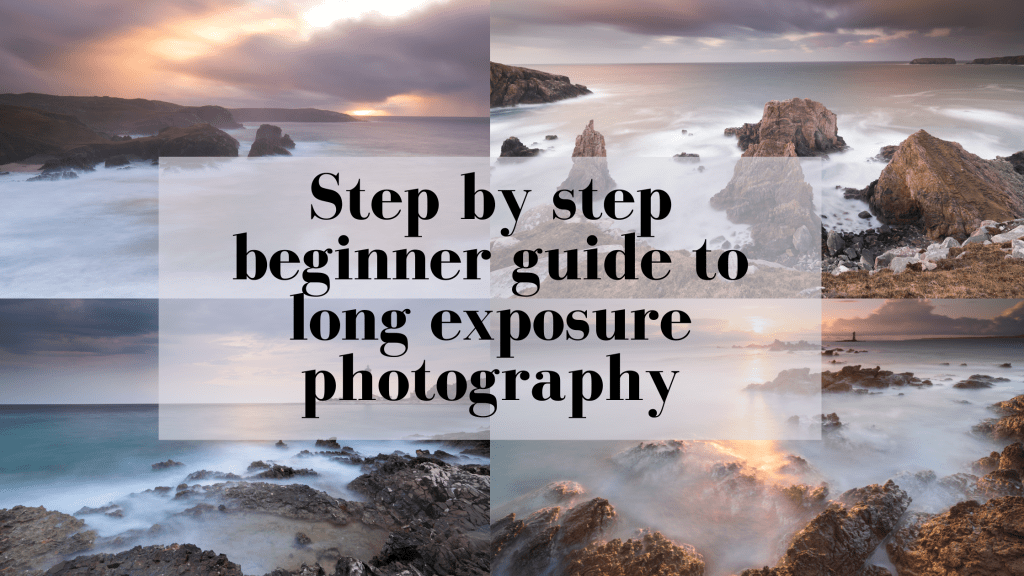
Long exposure photography is one of the most fascinating genres as it will allow you to freeze time in a photo, let’s see how it works with this complete step-by-step guide.
Articolo in italiano QUI
Other than being fascinating, this is also a super versatile technique, as it will help you create dreamy and ethereal photos during sunrise and sunset, beautiful star trails at night or captivating cityscapes during the day.
You can use long exposure to shoot a wide range of pictures, such as:
- Night photography: it will allow you to capture the stars or the northern light registering all the information you can’t see with the naked eye, or even creating star trails.
- City lights and car trails: using long exposure will help you get a photo where the artificial lights became colourful trails drawing leading lines in your composition.
- Removing people: ever wonder how some photographers get a clean shot in over touristed spots? Long exposure allows you to fully eliminate people from your shot or create ghostly-like shapes.
- Silky effect on water: the ways water changes depending on your shutter speed are limitless, and can create dreamy looking photos.
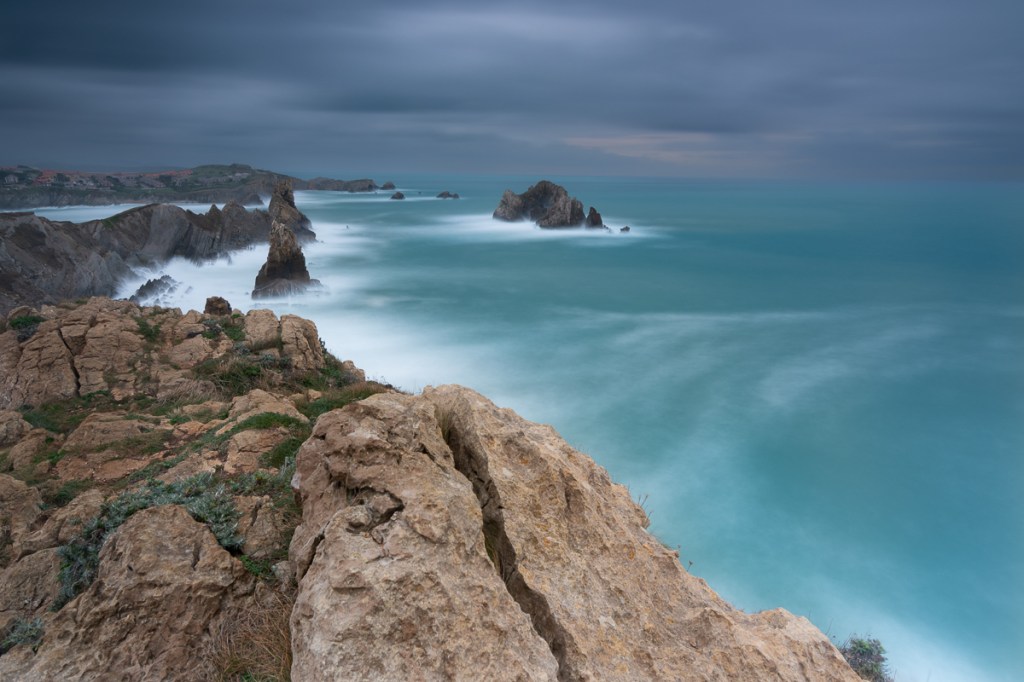
- Moving clouds: long exposure can drastically change the look of a sky in a photo, from defined clouds to smooth cloudy trails, this is one of the most fascinating applications of long exposure to photography.
The applications to this technique are infinite and depend a lot on your creativity, so let’s see how to do it in practice!
What is long exposure photography?
Long exposure photography is a technique that allows you to capture a single image using a slow shutter speed – usually 1 second and more-. Thanks to this particular process all the moving objects in the scene, such as water or clouds, will appear blurry while the stationary objects will be sharp. This will create a captivating contrast between the sharp and blurry areas of your photo and will reveal the movement and the passing of time in the scene.
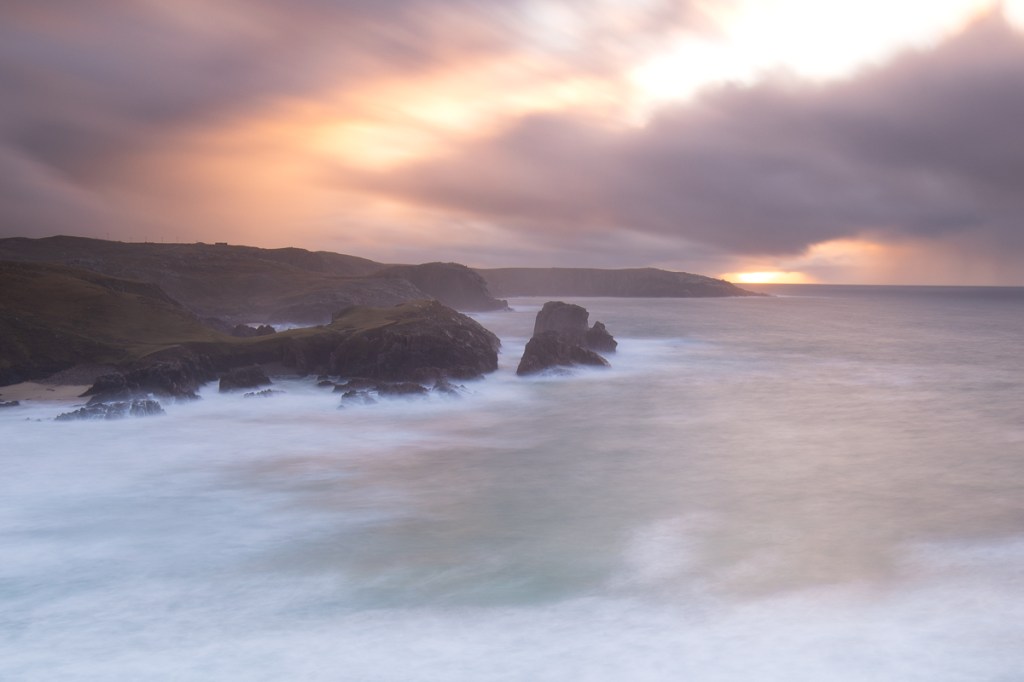
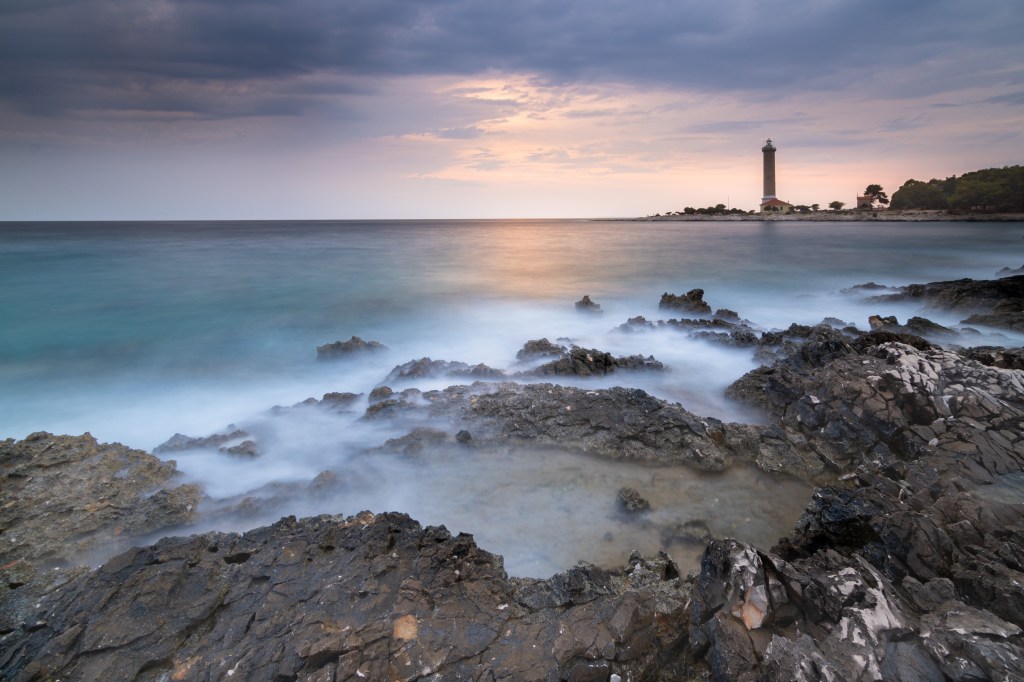
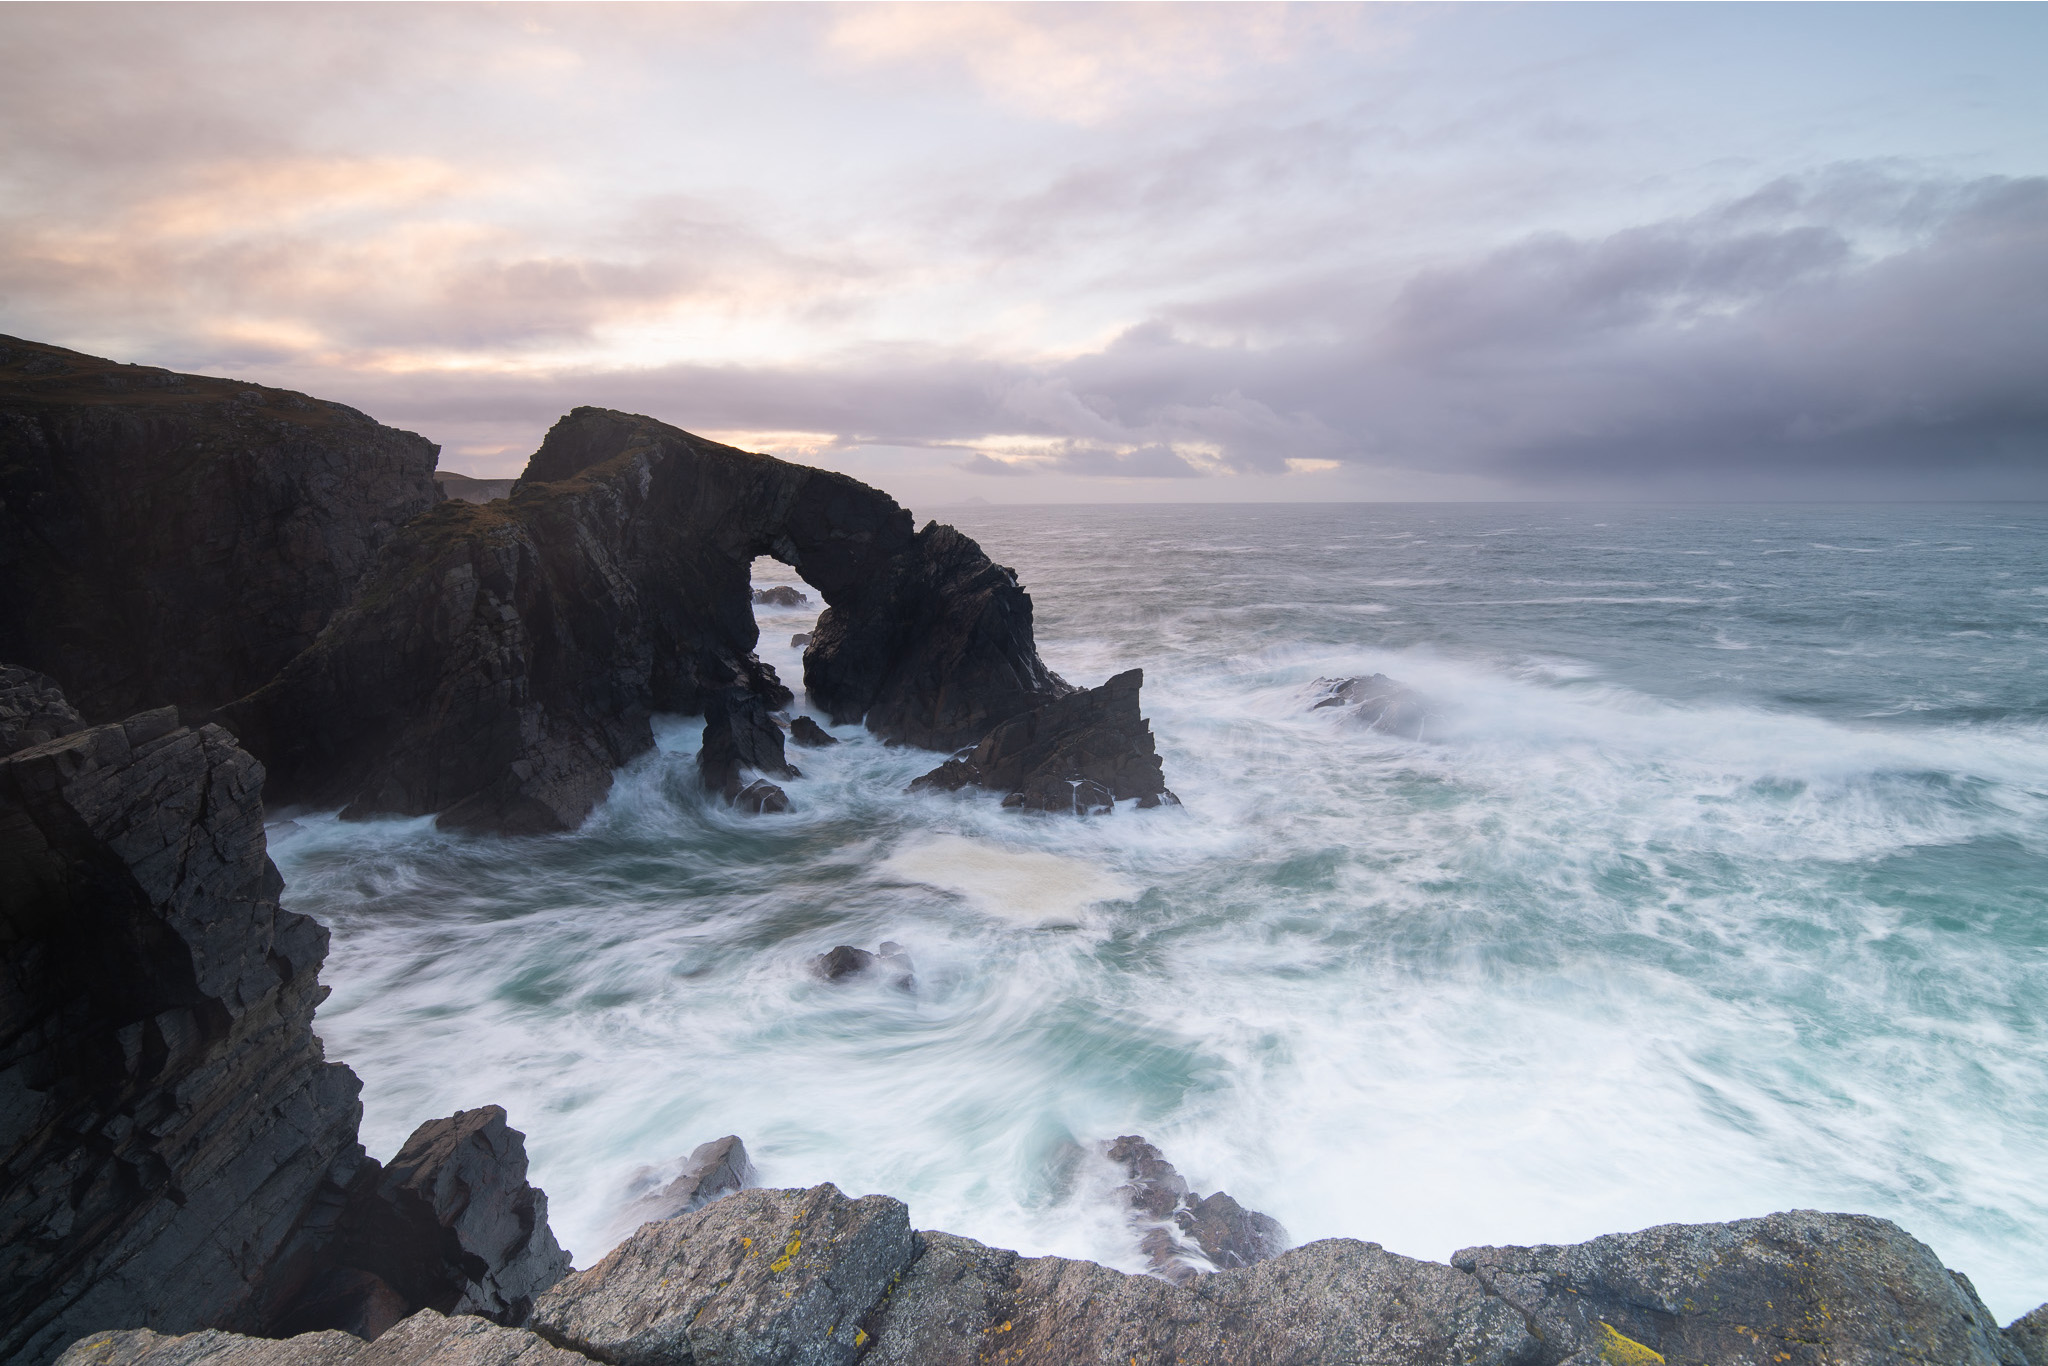
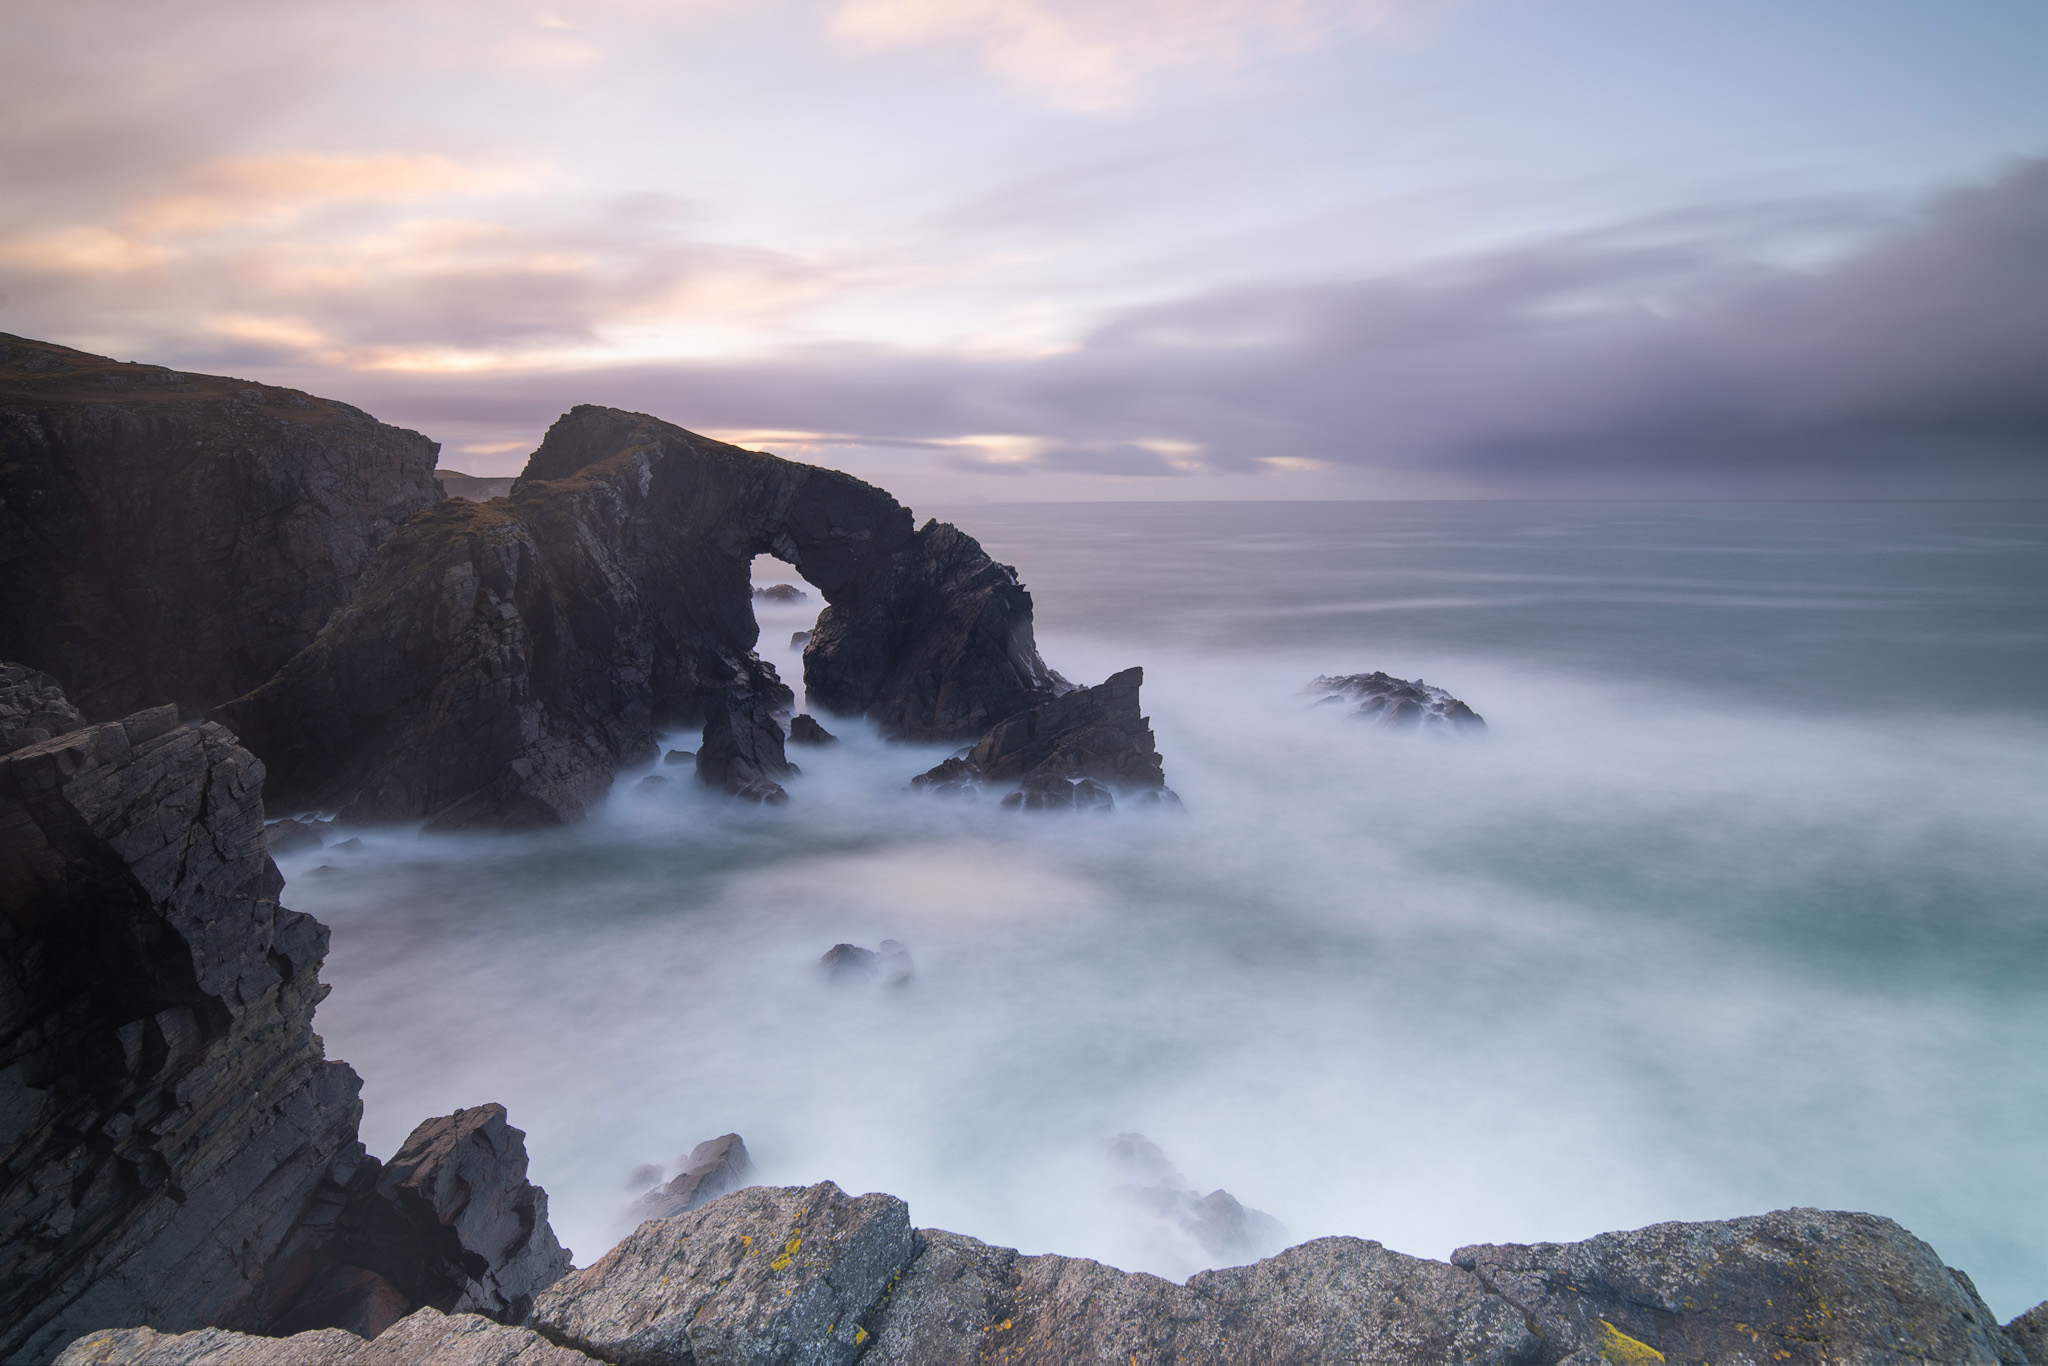
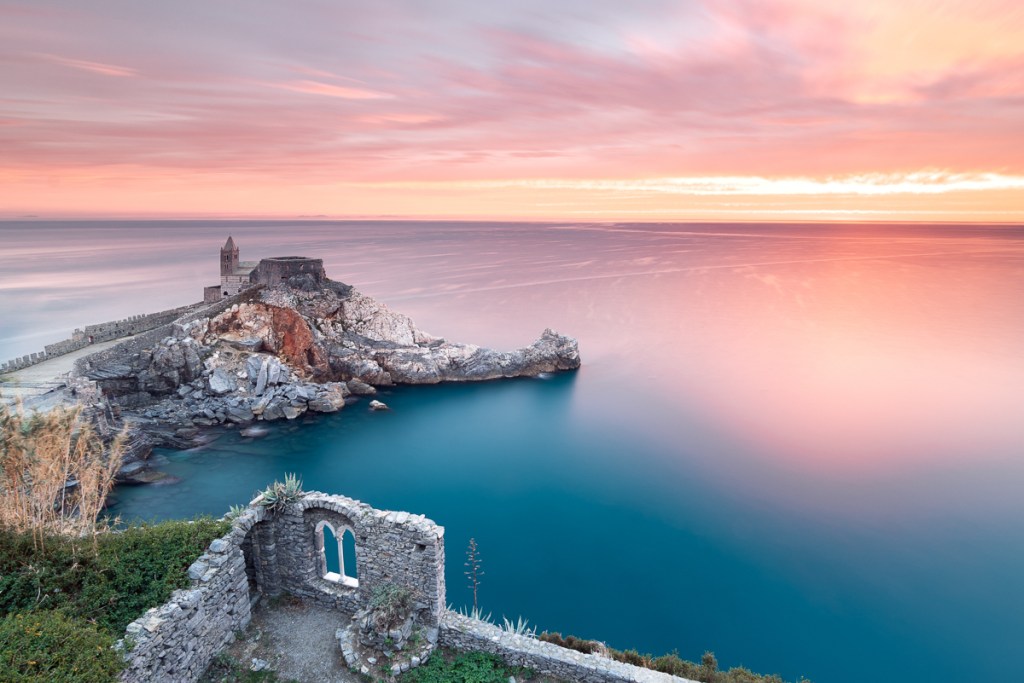
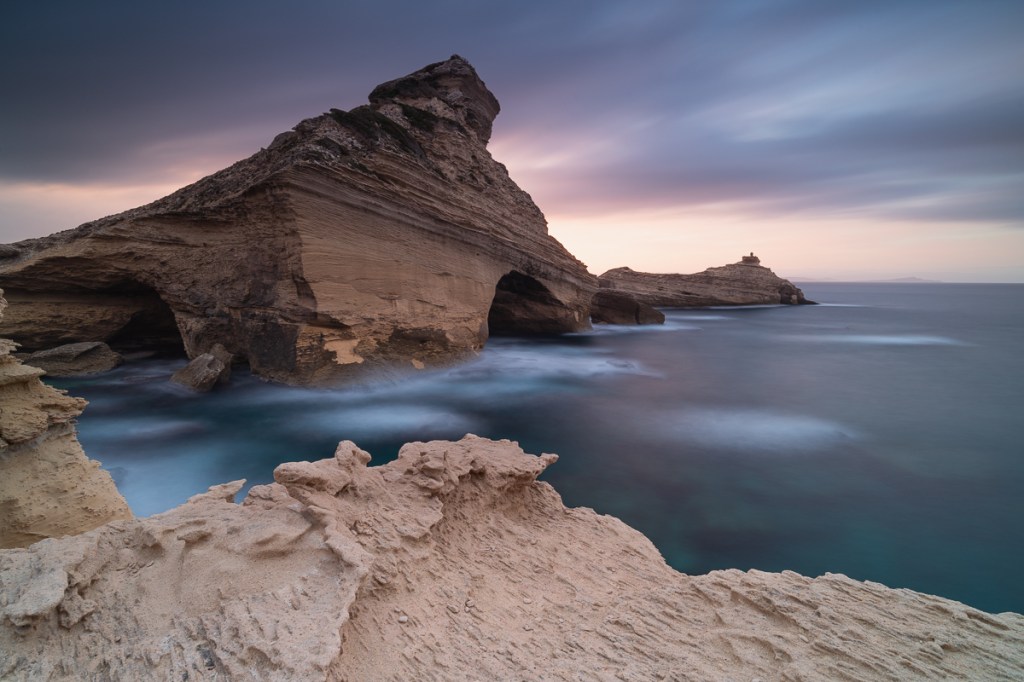
This kind of technique is perfect if you want to create a dreamy effect, for example if you are taking a picture at the sea crushing on a rock, with a long exposure the waves won’t be frozen and detailed but they will create a sort of mist around the rock, giving a mystical and ethereal look to your photo.
Another example of how to use this technique is with waterfalls, using a slow shutter speed you will create the silky effect on the water while the rest of the scene will appear sharp. You can also create some movement in cityscape, having some moving clouds behind buildings or creating light effects with passing cars.
There is just something completely unique about the way the photo comes out, and how you can capture the movement of your subjects. Roaring rivers and rolling waves become smooth and soft, while clouds transform into something straight out from a dream.
What gear do you need?
To shoot your first photo using long exposure you will need some essential accessories, and of course a camera!
Nowadays, this technique can be done using most cameras and even the latest smartphones. To be fair, also a basic photography equipment is sufficient to achieve great results. There are some accessories, though, that will be necessary to achieve a long exposure, let me give you an idea of what you will need:
Tripod
To achieve the correct balance between sharp and blur in your photo the camera needs to be steady, unless you want to use particular long exposure techniques such as ICM (intentional camera movement), but for a “classic” long exposure you will need a sturdy tripod. If you can, invest in a good one to avoid micro movements while shooting, I use a tripod from FotoPro.
Remote release/intervalometer
This is technically optional for long exposures, but I personally find it quite essential. Having one will allow you to shoot without touching the release button of your camera and avoid micro movements that could possibly ruin the photo, you will then get the sharpest possibly photo!
ND (neutral density) filters
These kinds of filters allow you to control the amount of light that reaches the sensor and basically act as sunglasses for your camera.
They have a crucial role in long exposure photography, especially when shooting during bright conditions, because they allow you to fully control the light that hits your sensor. These filters come in different strengths, measured in stops; the higher the number of stops, the darker the filter, and the longer the exposure you can achieve.
Depending on the light and your goals, you can choose between different strengths to adjust the shutter speed that you need. The most common are 3, 6 and 8 or 10 stops. I wrote a detailed article about them here.
Camera and lenses
While it’s true that nowadays you can have good results even with a smartphone, if you plan to achieve a detailed shot with the best quality, maybe to print it, you definitely need a camera with a good sensor. Ideally it will keep digital noise under control as it could be a problem when the shutter stays open for a long time.
As for a lens, the best one to take long exposure shots is the one that best suits the type of the photography you want to do: while a wide angle is generally better for a landscape photo you can go for a telephoto if you prefer abstract or detail photography.
If you want to do long exposure at night you might need a bright lens with a large aperture that allows you to use a lower ISO and reduce digital noise.
Landscape long exposure – Planning the shot
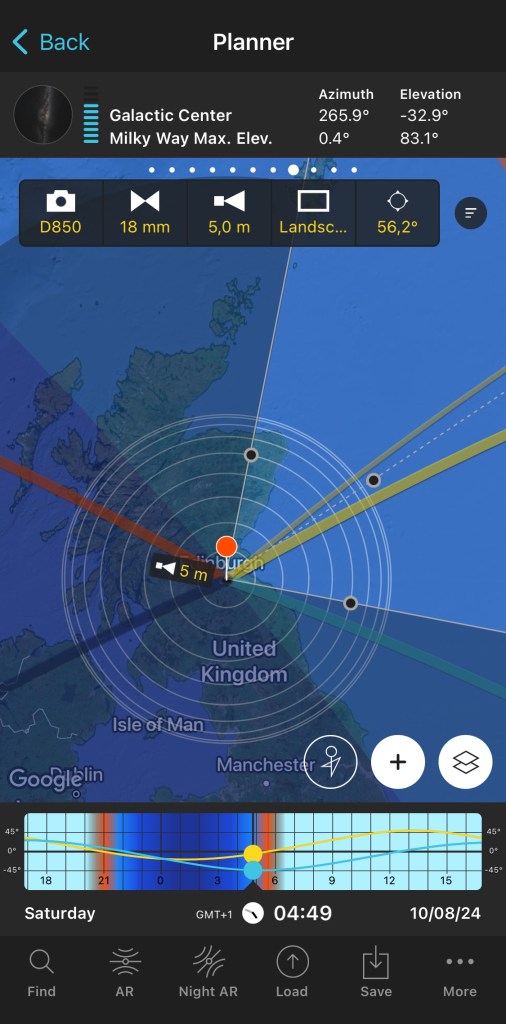
Now that you have everything you need is time to plan your shot! Let’s see how to take a landscape long exposure: First of all, you have to decide where to take your picture, before going on a location I always check it with Google earth and PhotoPills to understand the environment and possible compositions and to know where the sun will set and/or rise.
Study the weather
Before going out to shoot you need to make sure you get the best weather possible, and for a long exposure photographer that means cloudy!
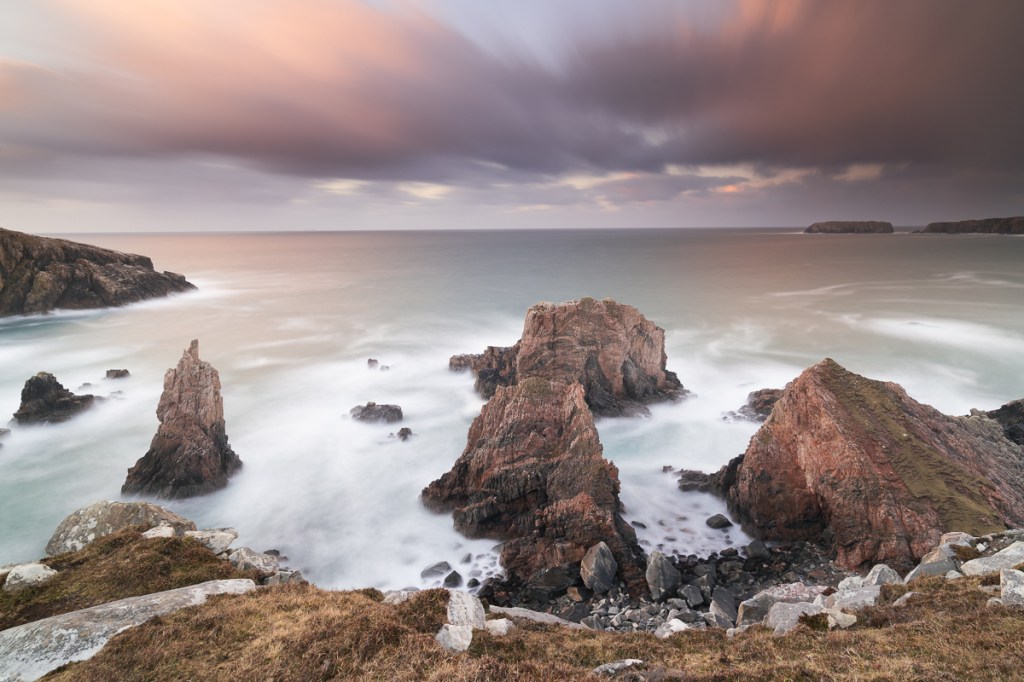
To get a catchy, correctly exposed long exposure at a landscape you will need a partly cloudy sky (also a moody one is good) but you want to avoid a flat sky with lots of white clouds with no texture or light, or a cloudless one.

Also, if you are going to photograph the sea it is better with some waves because you will be able to see the movement of the water, no waves and the sea will look flat.
Remember to always have a look at tidal movements and be aware of them for your own security while shooting on beaches and near the coast.
Arrive on location with plenty of time
As with any photo, it is important to have a strong composition but with a long exposure photography is even more important because you must use your imagination to figure out how the photo will look like.
Try to imagine how the clouds and the waves will appear and decide whether you want them to be more detailed or if you want to achieve a more “dreamier” look.
Remember to check with a planning app such as PhotoPills the position of the sun in your composition using the AR function.
Setting up
Ok, so you are now on location, and you found a composition you like, now what? At this point, you’ll want to mount your camera on the tripod and set up any relevant accessories, such as your filter holder and your remote shutter release.
Now refine your composition, set up your focus, and, if you are using an autofocus remember to change the focus to manual once you have engaged it, that way it will stay locked, and you will avoid any unwanted change by mistake.

Set exposure and filters
Now it’s time to choose the essential settings of your photo, set the camera in Manual mode to have full control and the ISO to your camera’s lowest native value (probably around 100).
Set the aperture to an appropriate value for the scene (for landscapes, I usually go for something between f/8 and f/13), pick the shutter speed based on your camera’s recommendation, and take a test shot (if you want to use a GND filter to balance the exposure between the sky and the foreground remember to add it before taking the test shot). Remember to always check the histogram after that and not only the display because there may be a strong light and you might not see it correctly, the histogram will give you a better idea of the correct exposure.
Once you have a good test shot, it’s time to add the ND filter; remember to position it correctly in order to avoid light leaking, it should be insert in the holder slot as close as possible to the lens and you don’t have to see any part of the lens, the filter must cover it all. Remember also to cover your viewfinder, especially if the light is strong, for the same reason.
Calculate exposure time with the filter
The last step before finally taking your long exposure photo is calculating shutter speed. The ND filter introduces several stops to the exposure time you got with your test shot, so let’s say the correct exposure time with your test shot is 1 second and you want to use a 6 stops ND filter; your final exposure time will be around 60 seconds.
If it’s your first time trying this kind of photography and you are afraid you might get it wrong, there are some useful app that can help you calculating the right exposure, as the one developed directly by NiSi filters: NiSi ND Calculator.

Now that you have the exposure time, remember to switch the camera to Bulb mode to shoot for more than 30 seconds, thanks to the remote shutter release and you are good to go!
After your shot always remember to check the histogram and see in general if you are happy with your photo, you don’t wait to notice it is not proper when you are back home!
Step by step recap
That was quite long, I know! To help you remember all the steps you need to have your final long exposure photo, here’s a quick overview:
- Plan your shot: study in advance location and weather
- Scout the location: arrive with plenty of time ahead to find the perfect composition
- Set up: mount the camera on the tripod and refine the composition
- Remember to focus and lock the focus!
- Make a test shot (without ND filter)
- Check the histogram to make sure it’s ok
- Calculate exposure based on the filter you choose
- Take the shot and double check before heading home!
Release your creativity
Now that you have the basic, it’s time to have fun and experiment! Do not be afraid of trying something new and remember that long exposure can be used with a huge variety of landscapes, from urban to waterfalls or seascape. Remember to practice your eyes in seeing the scene with a “long exposure mindset” and understand how the photo will look like and just go out and have fun practicing.
Welcome to the magical world of long exposures!
I really hope this tutorial on long exposure photography will help you experimenting with something new and eventually lets you discover a passion for a new photographic genre and, please let me know in the comment section if you have any question!
Long exposure common FAQ
How long is a long exposure photo?
Long exposure photography involves taking photos over a much longer period than usual in order to achieve movement. To see the desired result, you need to leave the shutter open for a certain amount of time. Usually in photography it is considered a long exposure when the shutter speed is lower than 1 second.
Can I do long exposure during the day?
Yes, but you will definitely need an ND filter with a strong stop value, like an ND 10 stop. Otherwise, you can also set a smaller aperture on your camera (like f/22), but this is not fully recommended as you will lose quality due to optical diffraction, an ND filter is the best option.
Can long exposure damage the sensor?
Long exposure can potentially hurt a digital camera if it causes the camera’s sensor to overheat, however, the majority of modern digital cameras have built-in safety features that prevent overheating during long exposures, so the camera stays safe. Also, the camera sensor usually can overheat after very long exposures, like 30 minutes, and you will never have such a long exposure time for a correct photo, this will not happen with an exposure of a few minutes that won’t damage the sensor.
Can long exposure drain the battery?
Yes, long exposures can drain the camera’s battery quickly, which can be a problem if you’re out shooting. Make sure to have some spare batteries with you (I usually bring at least two) to avoid disappointment.
Why is my camera display all black after putting on the ND filter?
When you mount the ND filter in front of your camera the Live View will turn black, but don’t worry, the camera will register all the information anyway, you just need to create the composition and focus properly before putting on the filter.
Why is my photo all white/black?
Unfortunately, in this case the exposure was not correct and you either over or under exposed the picture. You might need to calculate the exposure again and repeat the process.

