Balancing the different elements of a scene and getting the best exposure possible from the camera is crucial in landscape photography to save time in post-production. In this second article dedicated to filters, we will learn about the GND and how to use them best.
Articolo in italiano QUI
In the first article dedicated to filters we saw what ND are and how their use is essential to create long exposures (if you have lost it, you can find it here). In this second article we talk about a type of filter that is incredibly useful in all landscape photography, not only for long exposures: GND filters.
GND filters, what are they?
A GND (Graduated Neutral Density) is a photographic filter that allows to darken selected parts of the scene we are photographing with a more or less clear transition depending on the degree used. This way the exposure will be properly balanced throughout the scene without having overexposed areas.
The effect is similar to that obtained by using graduated filters in post-production but with substantial differences:
- The light management is done directly in camera which allows to balance it better without running the risk of having burned areas. The over exposed parts, in fact, will never be 100% recoverable in post-production, while using a physical filter directly in the field the light will be managed correctly on the whole scene.
- Thanks to the correct management of light, the scene will be perfectly balanced, in post-production, however, care must be taken because incorrect or excessive use of filters to recover areas with different exposures can generate unnatural effects and make the photo visually unpleasant.
- Fixing a poorly exposed photo on the computer can take time, personally I find it much faster and more immediate to use a GND in the field than in post-production. Especially in scenes where light management is complicated, such as sunrises and sunsets with particularly strong light or with the sun inside the composition, the use of GND on the camera is much faster and, above all, effective.
- The filter allows to obtain a photo with a correct dynamic range without having to resort to the union of several shots with various exposures which has different advantages in terms of time, both shooting and postproduction, not to mention the fact that several photo contests do not accept photos made by combining multiple files. I also personally find the idea of taking a proper photo with a single shot more satisfying, but these are obviously personal tastes.

How do you use a GND?
The graduated density filter is half transparent and half dark with the central part shaded depending on the chosen transition. In this way the part of the scene that is positioned in the transparent area will be left unaffected, while in the dark part the light will be reduced thus underexposing the areas with a particularly strong light that, usually, are those in correspondence of direct light (which often coincides with the sky but not always).
The GND, unlike ND and polarizer, is a filter that until a few years ago was only available in square version and did not exist as screw in. More recently some screw in GNDs appeared on the market but, personally, I find them nonsense because in a circular filter the shading area would remain fixed and never be correctly positioned in correspondence of the light unless the composition is altered by moving the camera and you only shoot with a straight horizon.
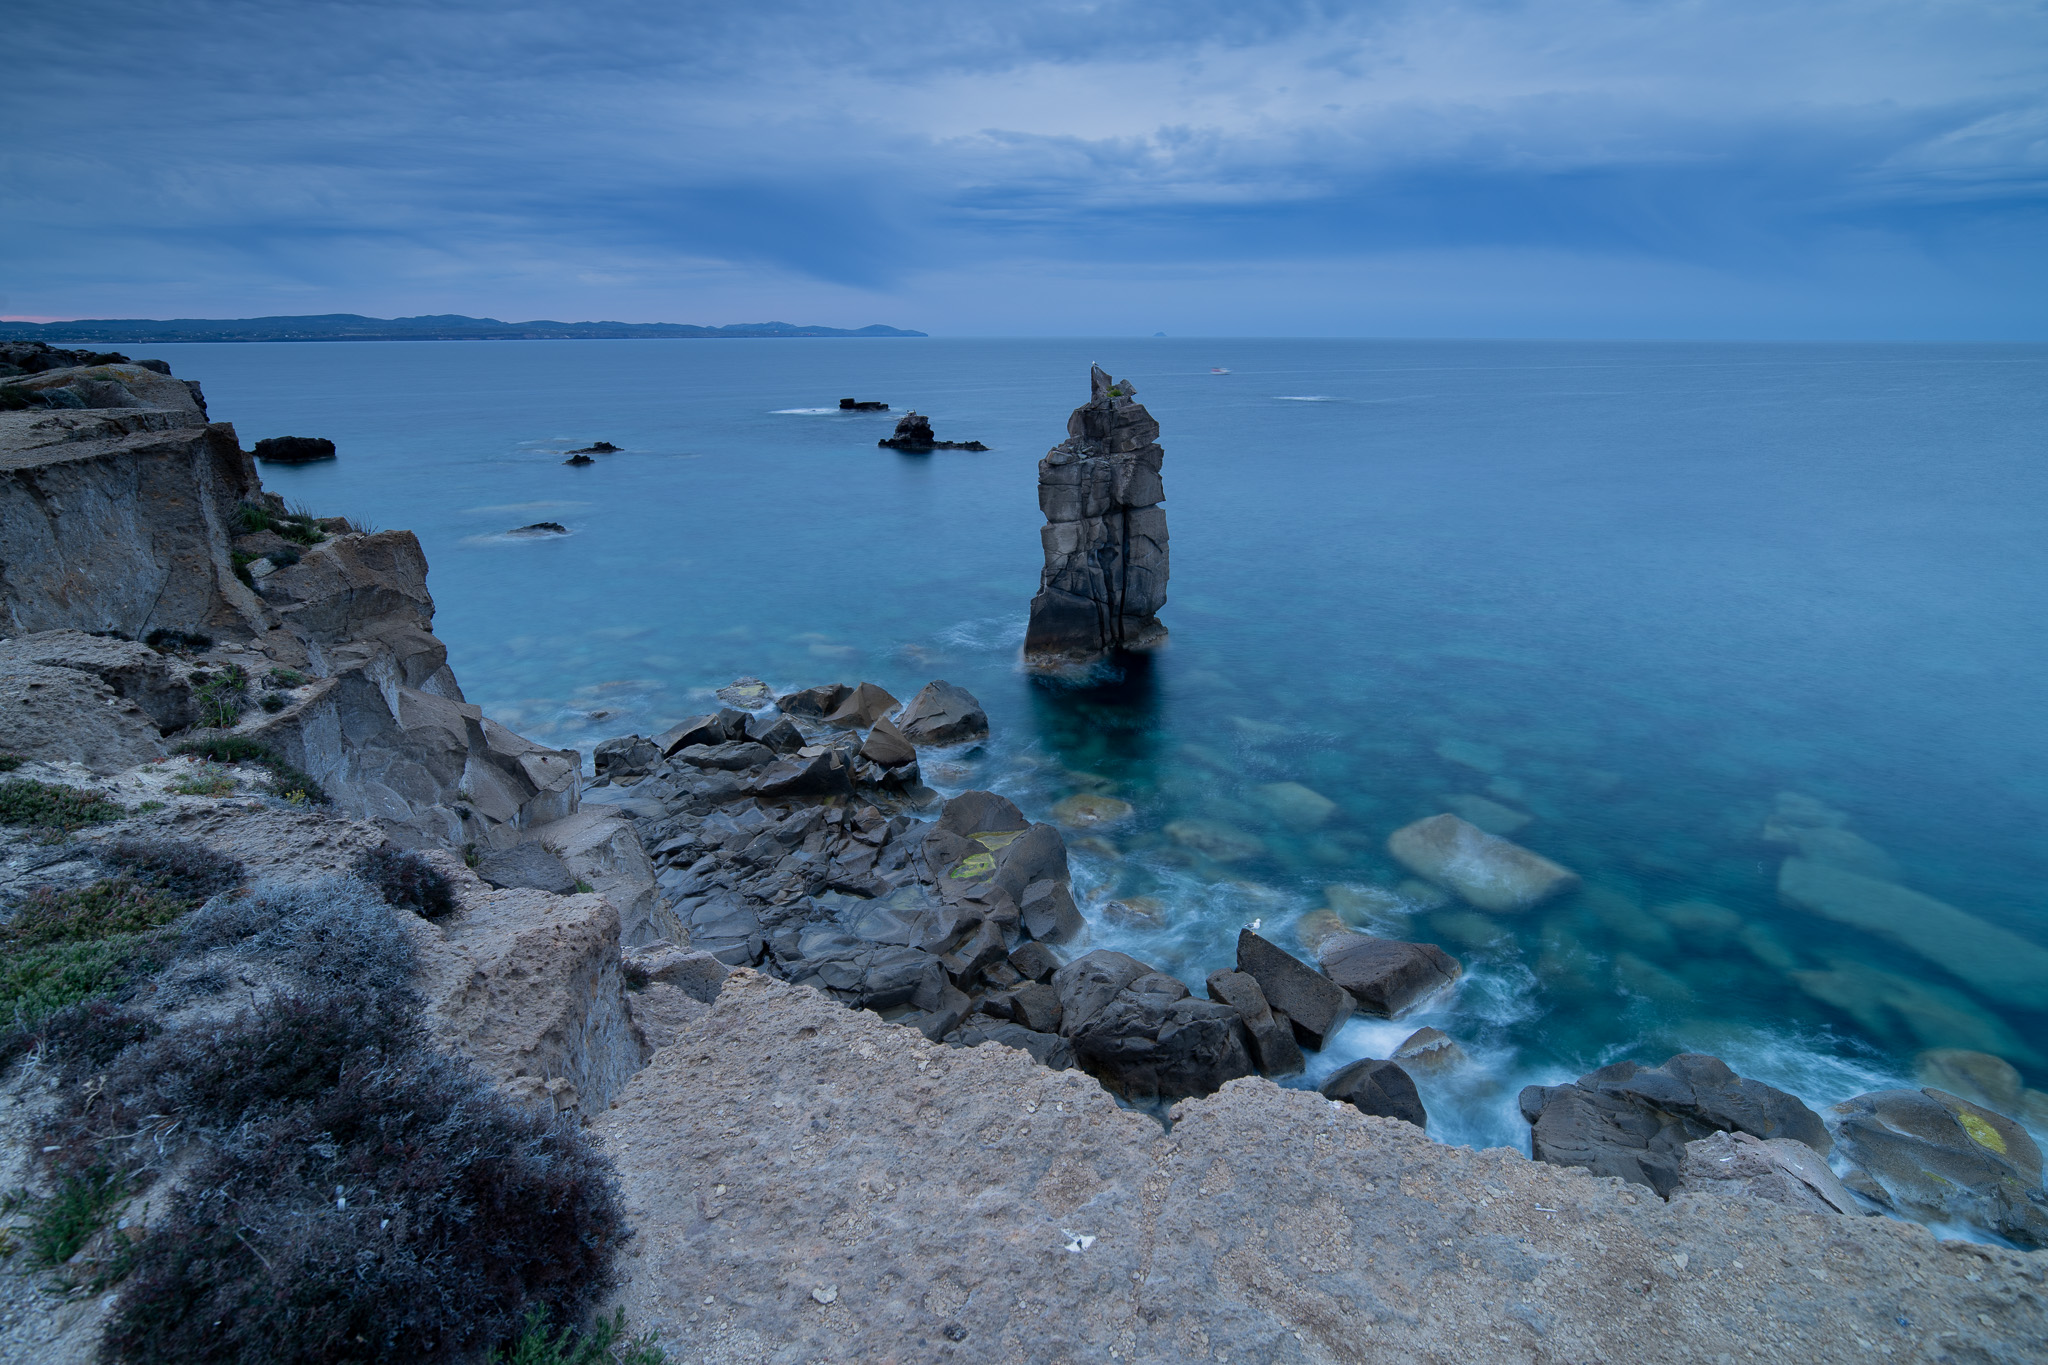
To use the filter in the field, it should be moved into the filter holder and placed in the line created by the light. If we are in front of a scene with “straight” light, for example a sea landscape with a sky lighter than the foreground, it will be enough to place the filter on the horizon line.
In the presence of more complicated scenes, such as a beam of light that filters through the mountains, you will have to remove the block from the holder and turn it sideways until you place the GND on the line of light (and then remember to lock the holder again).
Depending on the amount of light and how clear it is, we will choose the correct transition between the existing ones and the stops to be used.

Which filter should I choose?
GND filters, just like ND filters, are available in different gradations, expressed in stops, according to the amount of light present. There are also four different types of transition, each with different gradations, to choose according to the scene to be photographed:
- Soft: in this filter the transition between light and dark area is very blurred, making it ideal for all those landscapes where the separation between light and dark areas is not well defined, such as mountain and hilly ones.
- Medium: as the name says it is a filter with a medium transition, a middle path between the Soft and Hard. It is a very versatile filter and is in fact a great choice for those who buy this type of filters for the first time.
- Hard: the separation between light and dark area here is much more marked and is ideal for marine landscapes where you have a straight line of the horizon with strong light, or in all those moments of very clear side light.
- Reverse: in this filter the transition is the same as in the Hard, but the dark effect is blurred and dissolves progressively (like in a Soft) towards the top of the filter. This makes it suitable for the early sunrise and late sunset when the sun is present in the lower part of the composition while the upper part is darker.
Can I use multiple GND filters at the same time? Absolutely yes, in this way it is possible to create different combinations to dose the transitions as you best believe and, especially when there are particular light conditions, it can be useful to mix two filters.
Buying tips
f you have decided to try a GND but don’t know where to start choosing from among all those on the market, first think about what kind of photography you mainly do. If you are a mountain enthusiast, you will hardly need a Hard filter, and it would be better for you to start with a Soft one. Quite the opposite for fans of marine long exposures, I who shoot many of these landscapes often use the Hard and the Medium.
If you shoot a little bit of everything or want to start with something intermediate, then a Medium filter is the best choice.
The Reverse, on the other hand, is a slightly more advanced filter that can go to complete your kit, but I wouldn’t recommend it to start.
To recap:
- If you have never used a GND, as your first filter I would recommend the 3 or 4 Stop Medium, if you are feeling good you can move on to other GND filters to complete your set.
- A Soft 3 Stop or 4 Stop can be a great addition if you are feeling good with the Medium and think that having a softer transition can help you in light management.
- A Hard 3 Stop is the ideal filter if you want more intensity in the reduction of light and appreciate a higher contrast or you often shoot with the sun right in front of the camera.
- If you already have other GND and find that the Hard darkens or contrasts too much the scene the Reverse 4 Stop could be the filter you need to complete the kit.
I use the NiSi filters with excellent results since 2019, you can find their range of GND filters here and their V7 holder system here.
FOLLOW ME


Leave a comment