When it comes to long exposure photography, filters are essential, but how to choose those who best suits you? In this first introduction to filters, I will explain how to use ND filters and all their differences.
Articolo in italiano QUI.
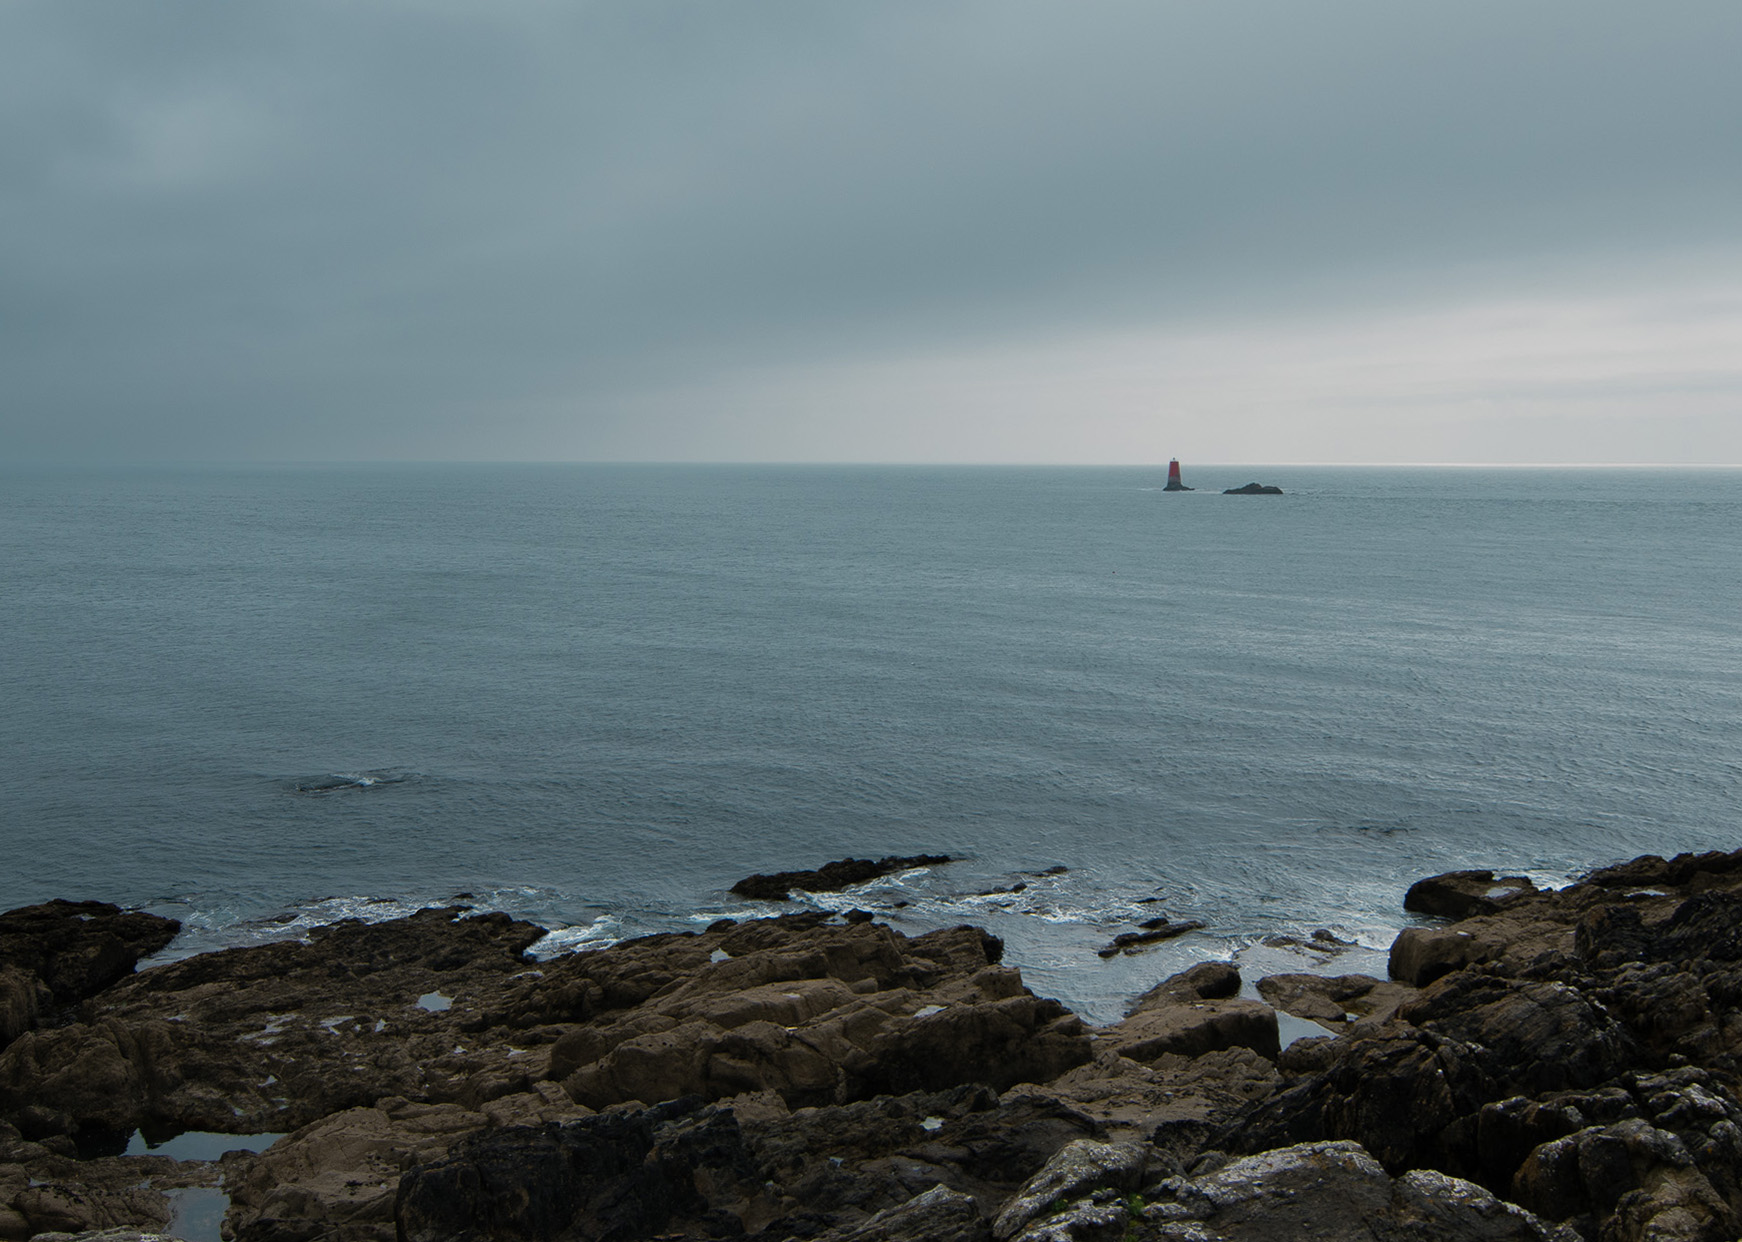
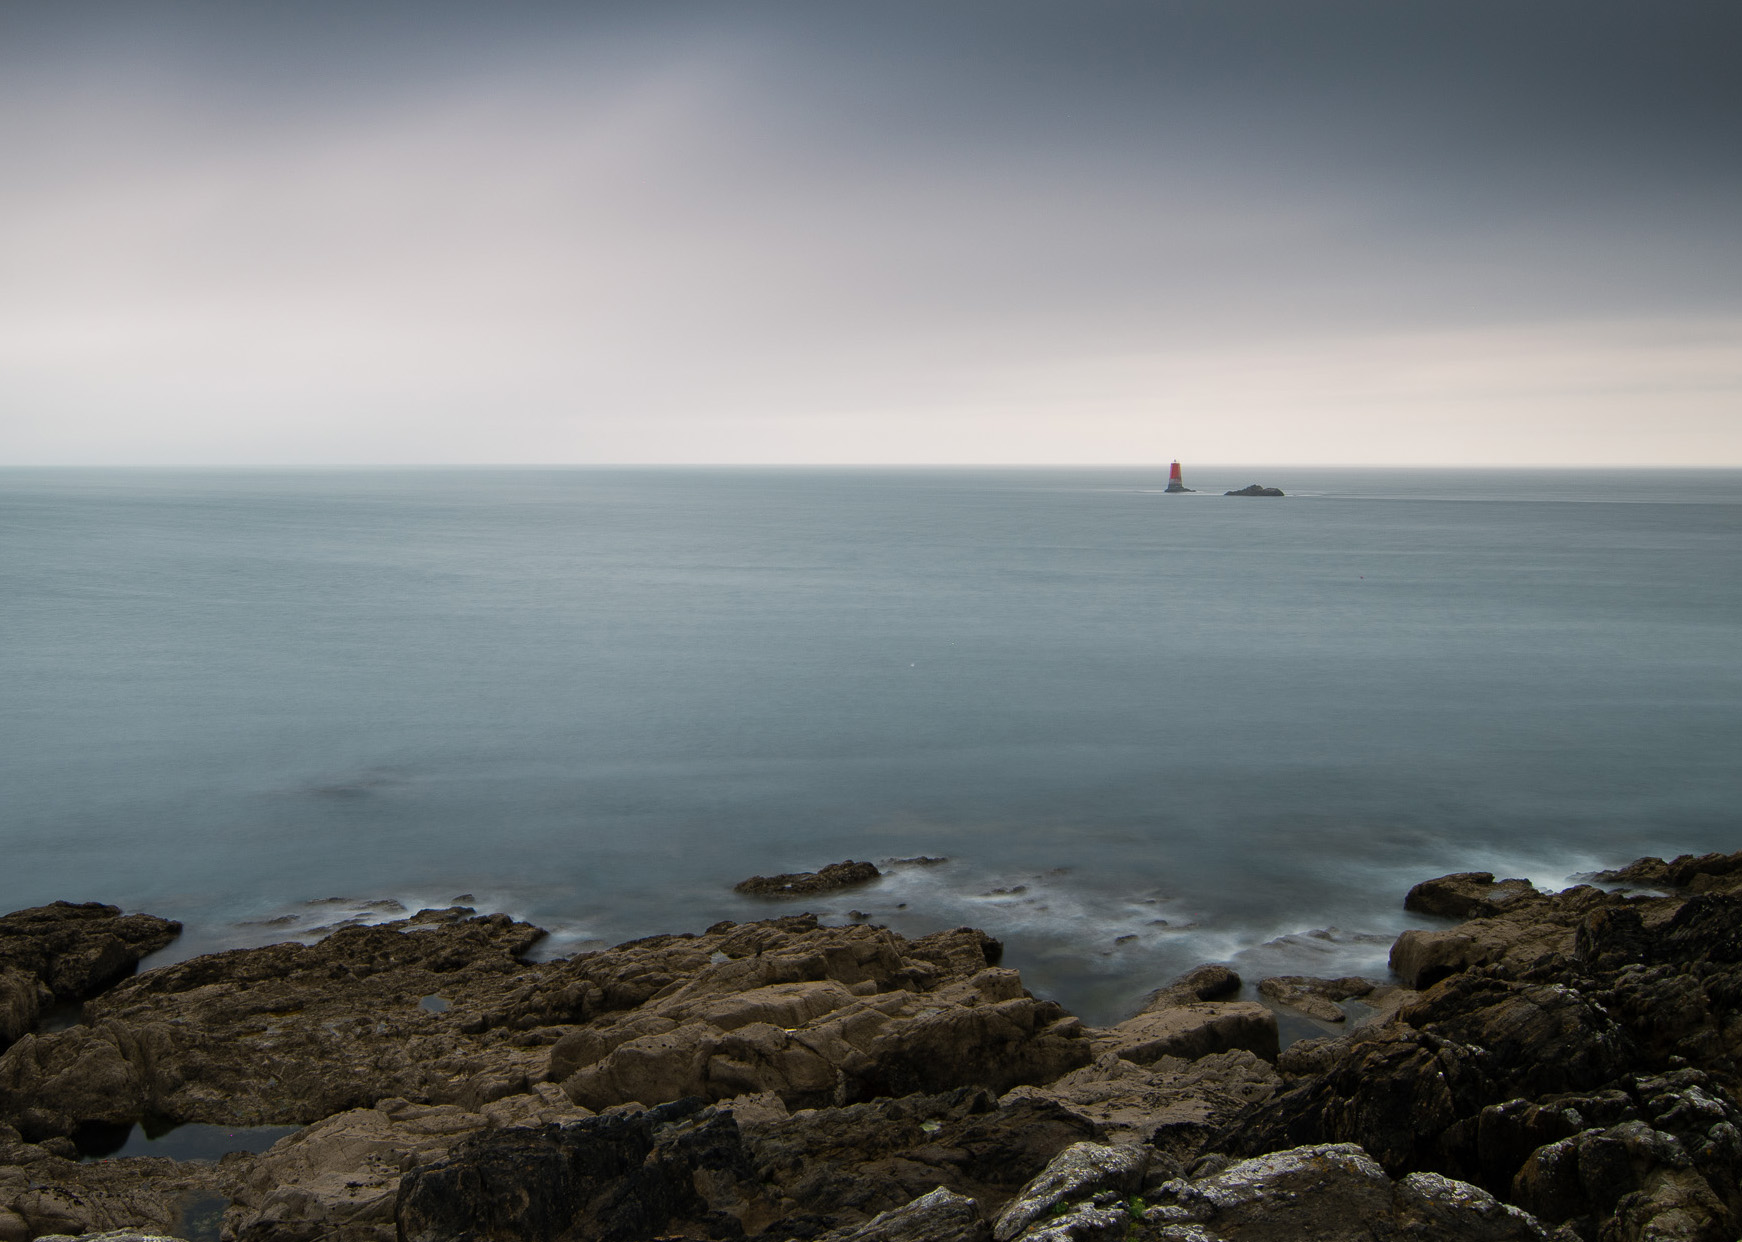
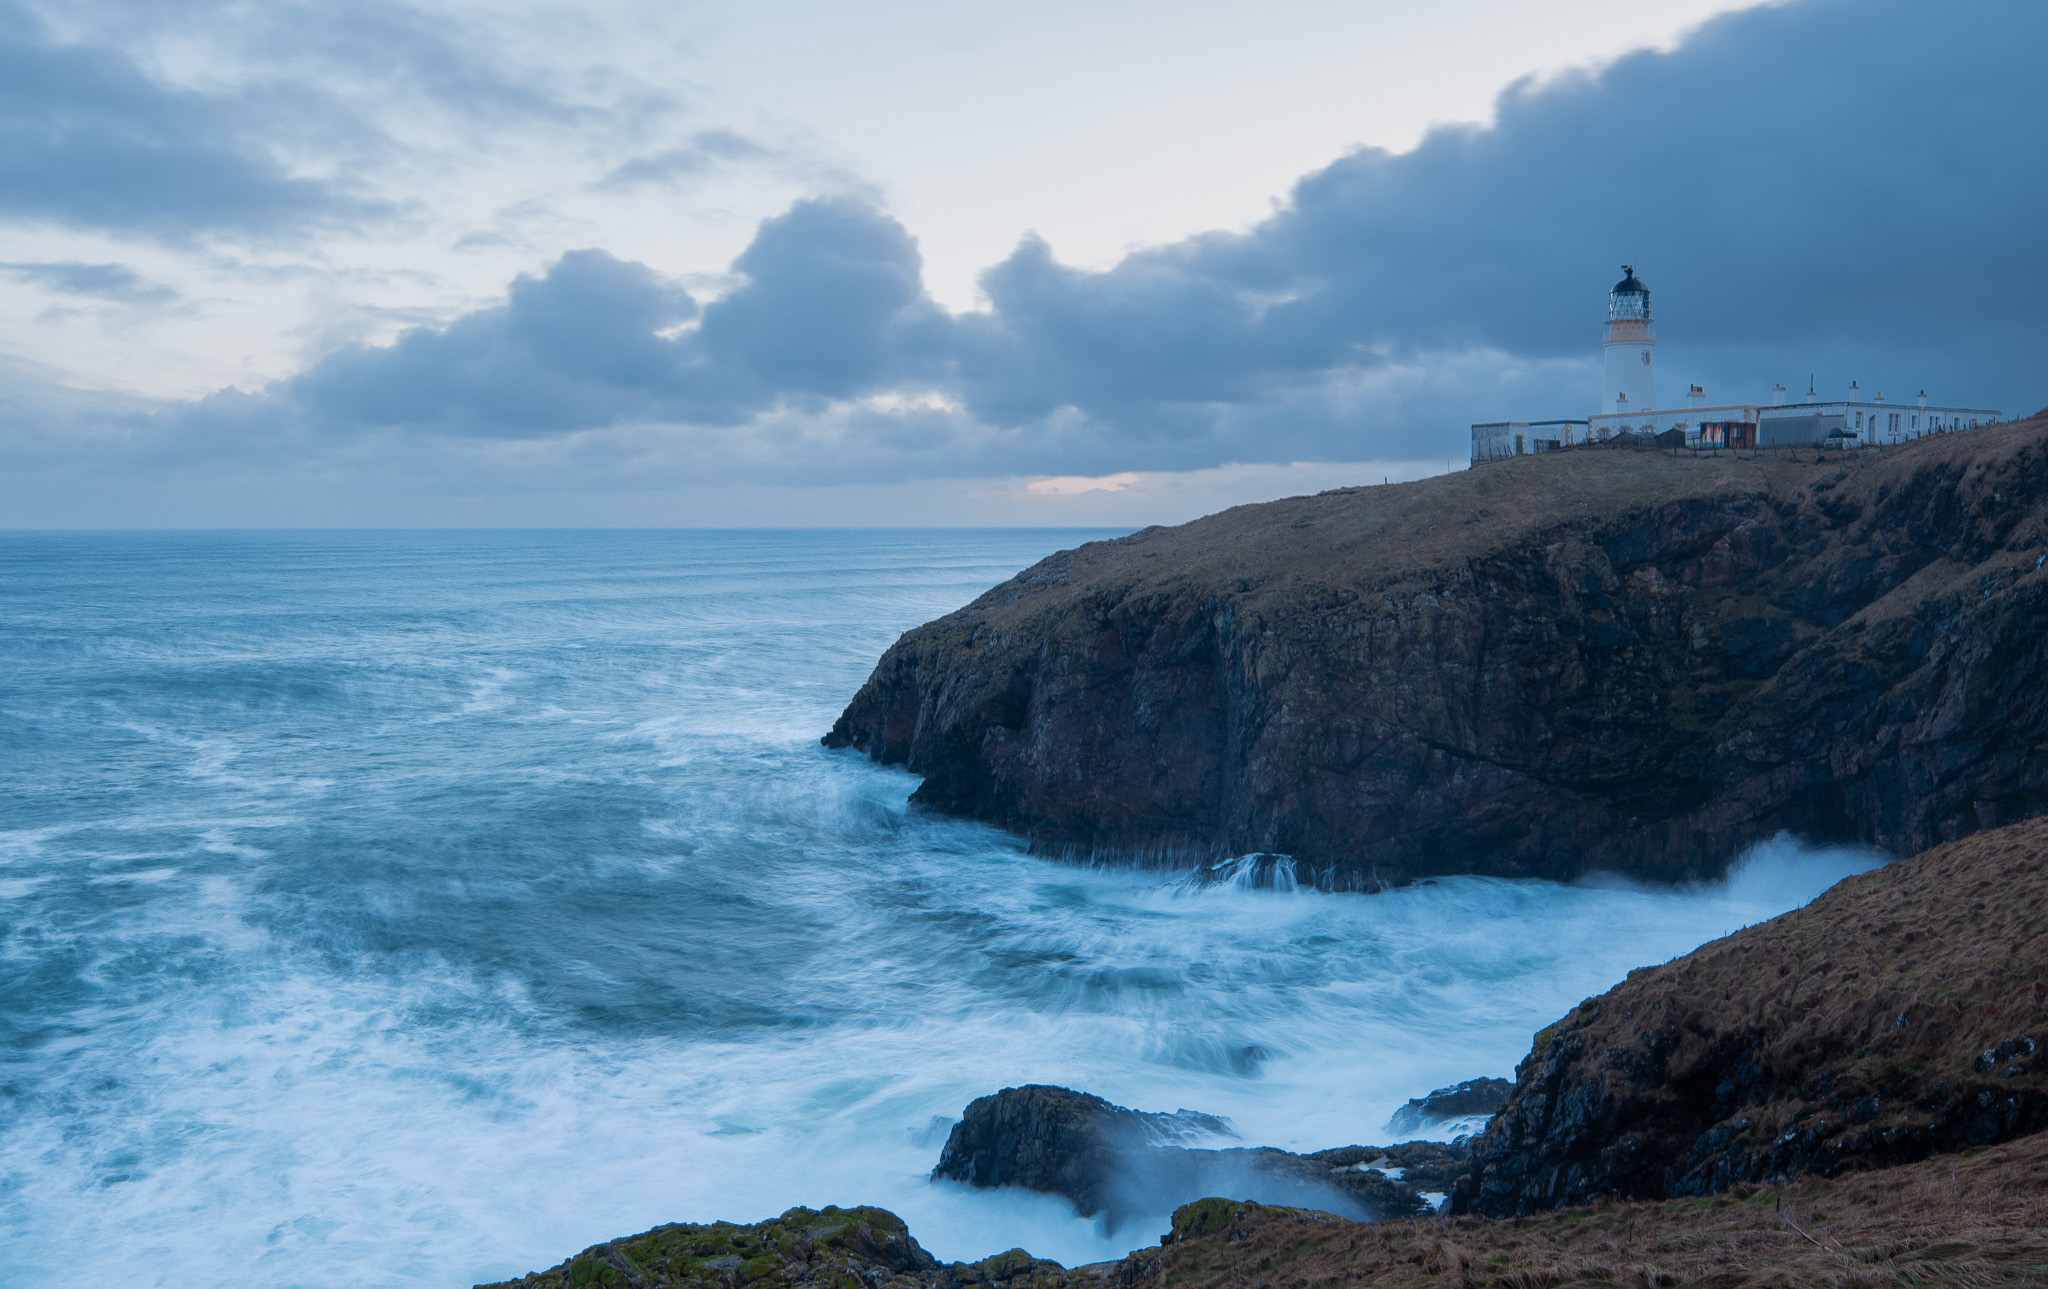
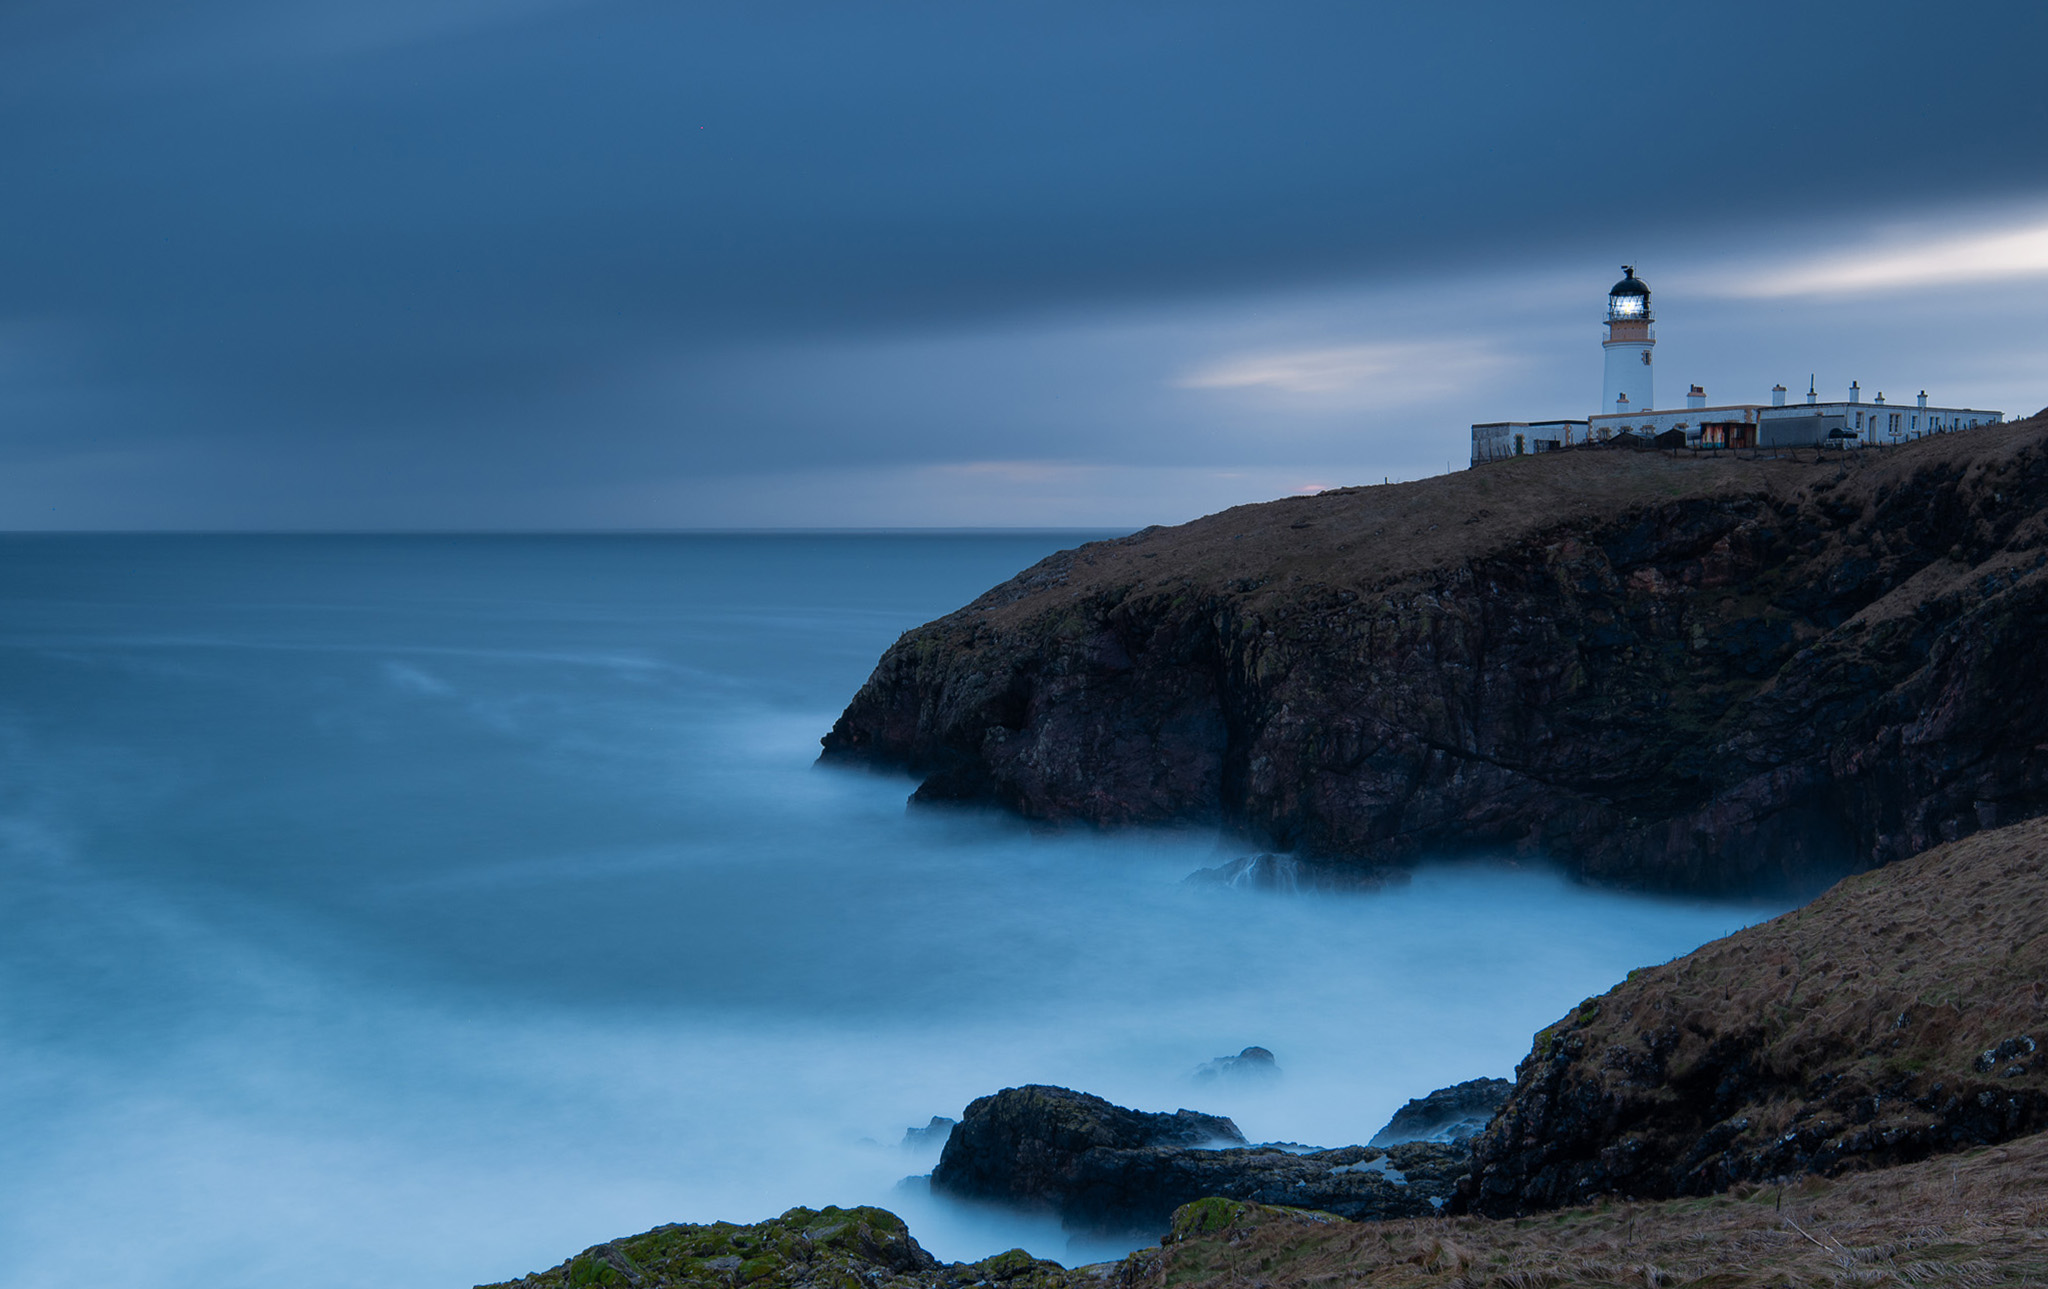
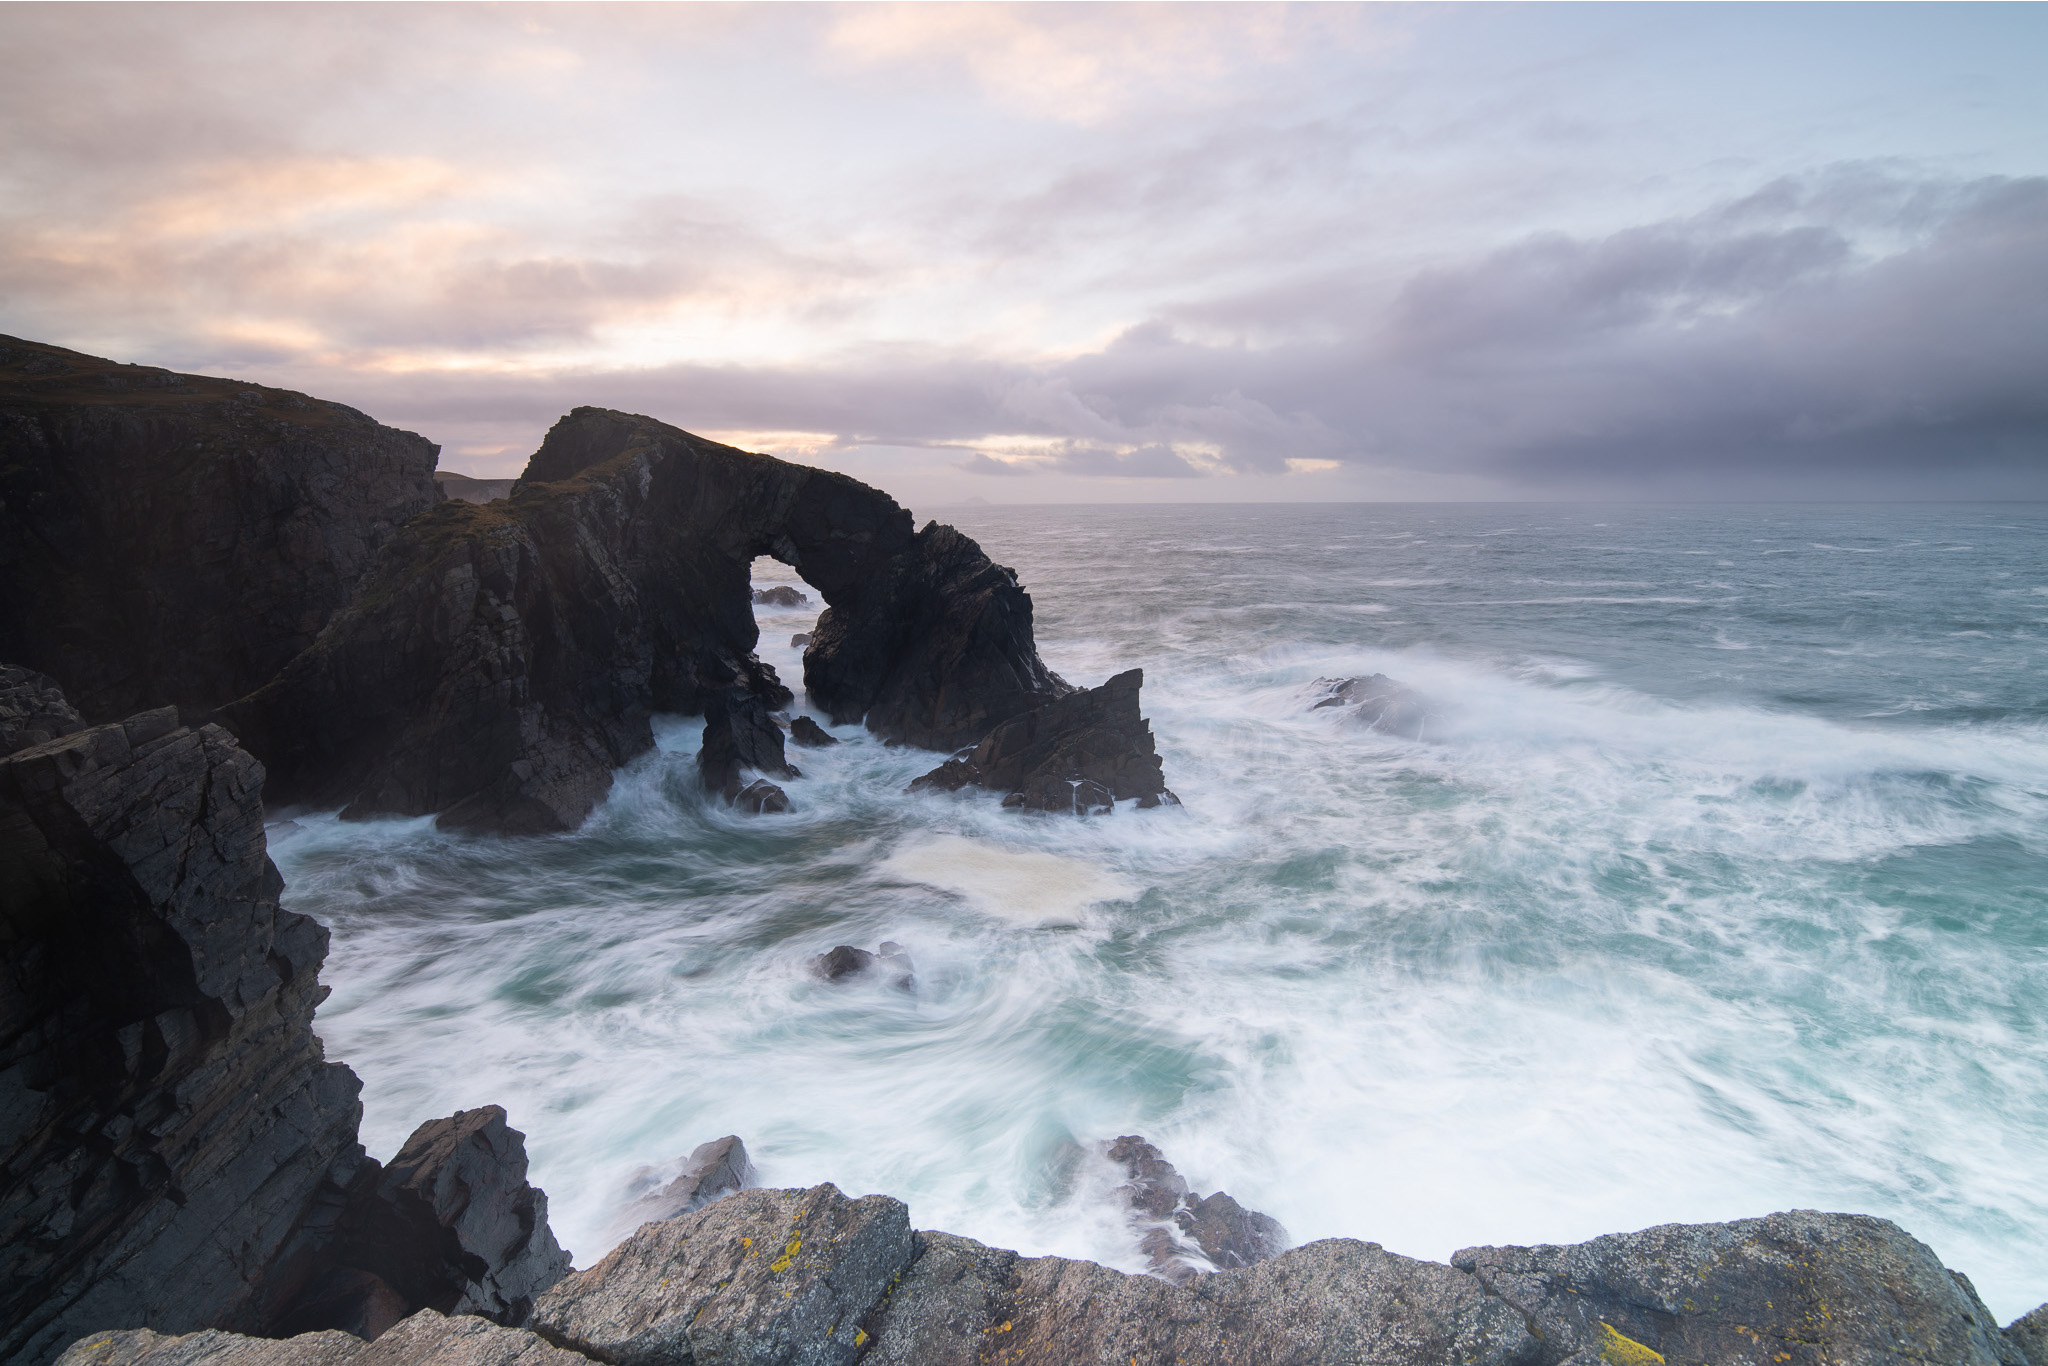
Slowing down your shutter speed allows you to create a particular effect called long exposure, resulting in a photo that can show the movement of water, clouds or even people or cars if you prefer street photography instead of landscape.
Of course, you have to make sure your photo is properly exposed so here comes filters to help. In this first guide I will explain you what ND filters are and how I use them to create my long exposure photos and how you can use them too.
I usually prefer taking just one picture directly on camera, rather than multiple exposure and doing a lot of post-processing, generally I just adjust exposure and do some colour grading on Lightroom and other basic adjustment and that’s it, so filters are a must when I’m out shooting.
What is an ND filter:
ND filters are essential to create the moving effect in a photo, for example you can create the “silky” effect on water or show the clouds movement.
ND stands for “Neutral Density”, meaning they can absorb light without altering tones, we can see them as sunglasses for your camera. With them you can slower your shutter speed but still with the correct exposure.
These filters come with different densities, and they can be measured in three different ways:
- Stops: it’s the easiest way to call them and understand how they work, for example with an ND 3 stop you will need to compensate exposure for 3 stops. Practically, if without a filter the correct exposure is 1 second, with an ND 3 stop it will be 8 seconds (1 second -> 2 seconds -> 4 seconds -> 8 seconds).
- Filtering factor: this is a representation of the factor by which the ND filter will reduce the light entering the lens. For example, if you use the above ND 3 stop filter it will reduce the light by 3 Stop and you will have a filtering factor of 8 (ND8). Each Stop light reduction involves in fact half the light towards the sensor; therefore its filtering factor will be equal to 8.
This naming can be pretty confusing at the beginning because it is easy to confuse it with the stops. As the light reduction doubles for each additional stop reduction, making another example an ND 6 stop can be called also ND64 because 26 = 64.
- Optical density: this is probably the most complicated and mathematical way to call them, as it corresponds to the base 10 logarithm of the filtering factor. You just need to know that it describes the amount of energy blocked by the filter and it is express as Y.X, for example our ND 3 stop will have a 0.9 optical density or a ND 4 stops will have a 1.2 optical density.

Different shapes, same filters?
ND filters could be round or square, depending on the filter system you choose (I use the square V7 system from NiSi).
The difference between the two systems is that you can only use one circular filter at a time (with some exceptions), and you can stack multiple filters with the square ones.

Personally, I found the square system way better for landscape photography because it allows me full control over my photo, circular filters are perfect for beginners but are not as versatile as the square ones.
I chose NiSi filters because they are made with high quality optical glass, they have anti-glare treatment and are really well made, I’ve been using them since 2019 and love them.
You can find the V7 System I use HERE.
Which ND filter choose?
If you have decided you want to start using ND filters, you might be wondering which one you should buy; if you want to try circular ones first, the only thing you should check is the thread size of your lens. Each lens, in fact, comes with a small symbol followed by a number that indicates the dimension of the circular filter that can fit it, for example Ø82.
If you want to buy square filters, you will need a holder system that allows the filters to stay attached to your camera and will mount 100mm square filters. This system will fit mostly every lens except for the ultra wide angle ones (usually 15 mm and below) that will require a bigger system for 150mm filters – like the NiSi S6 system.
You can also use this kind of system with smaller cameras like compact or film cameras with the NiSi M75 system.
As for what kind of stop you should buy, usually for sunset and sunrise I use mostly a 6 stop ND, so if you only want to buy one, I would suggest that one. I find useful also the 3 stop, to use when I want a little bit more definition in water or clouds and the 8 stop for when there’s a little bit more light or for when I want a very silky effect.